hot chocolate on a stick

DSC_7795edit

We recently had a cold snap here, which I hear is in store for the rest of the country as well.  (I don’t know what that means, because I’m pretty sure it’s actually “winter” for the rest of you, but that’s what the weather man said.)  I don’t know about you, but I can’t think of a better way to warm up than a nice cup of hot chocolate.

Not just any hot chocolate, but THE BEST HOT CHOCOLATE IN ALL THE LAND!

I know this because I was told so by my co-worker when she had some.  And also from those who received it in their Christmas baskets.

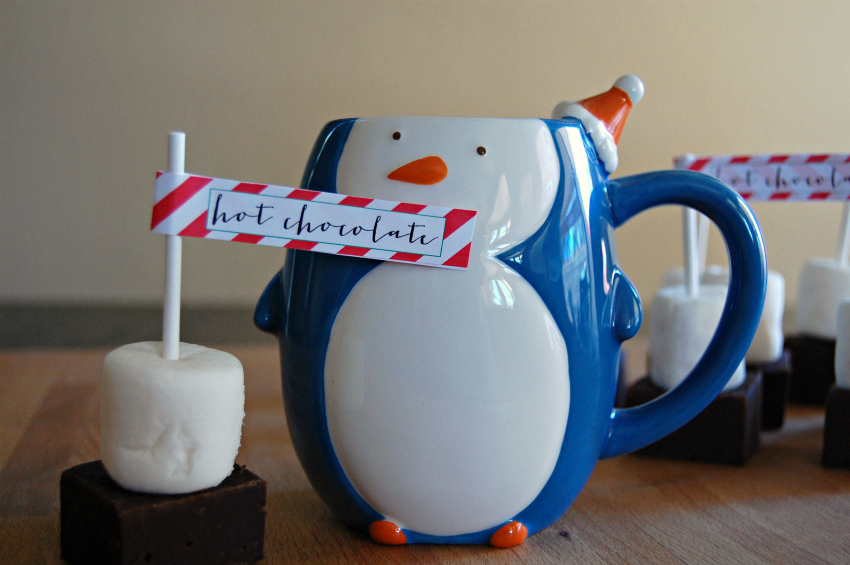
Oh, and it’s way more fun than regular hot chocolate, because it’s on a stick!  How fun is that?  Just stir it into hot milk (note: really hot milk, unless you want to eat the fudgey leftovers like I some people do).

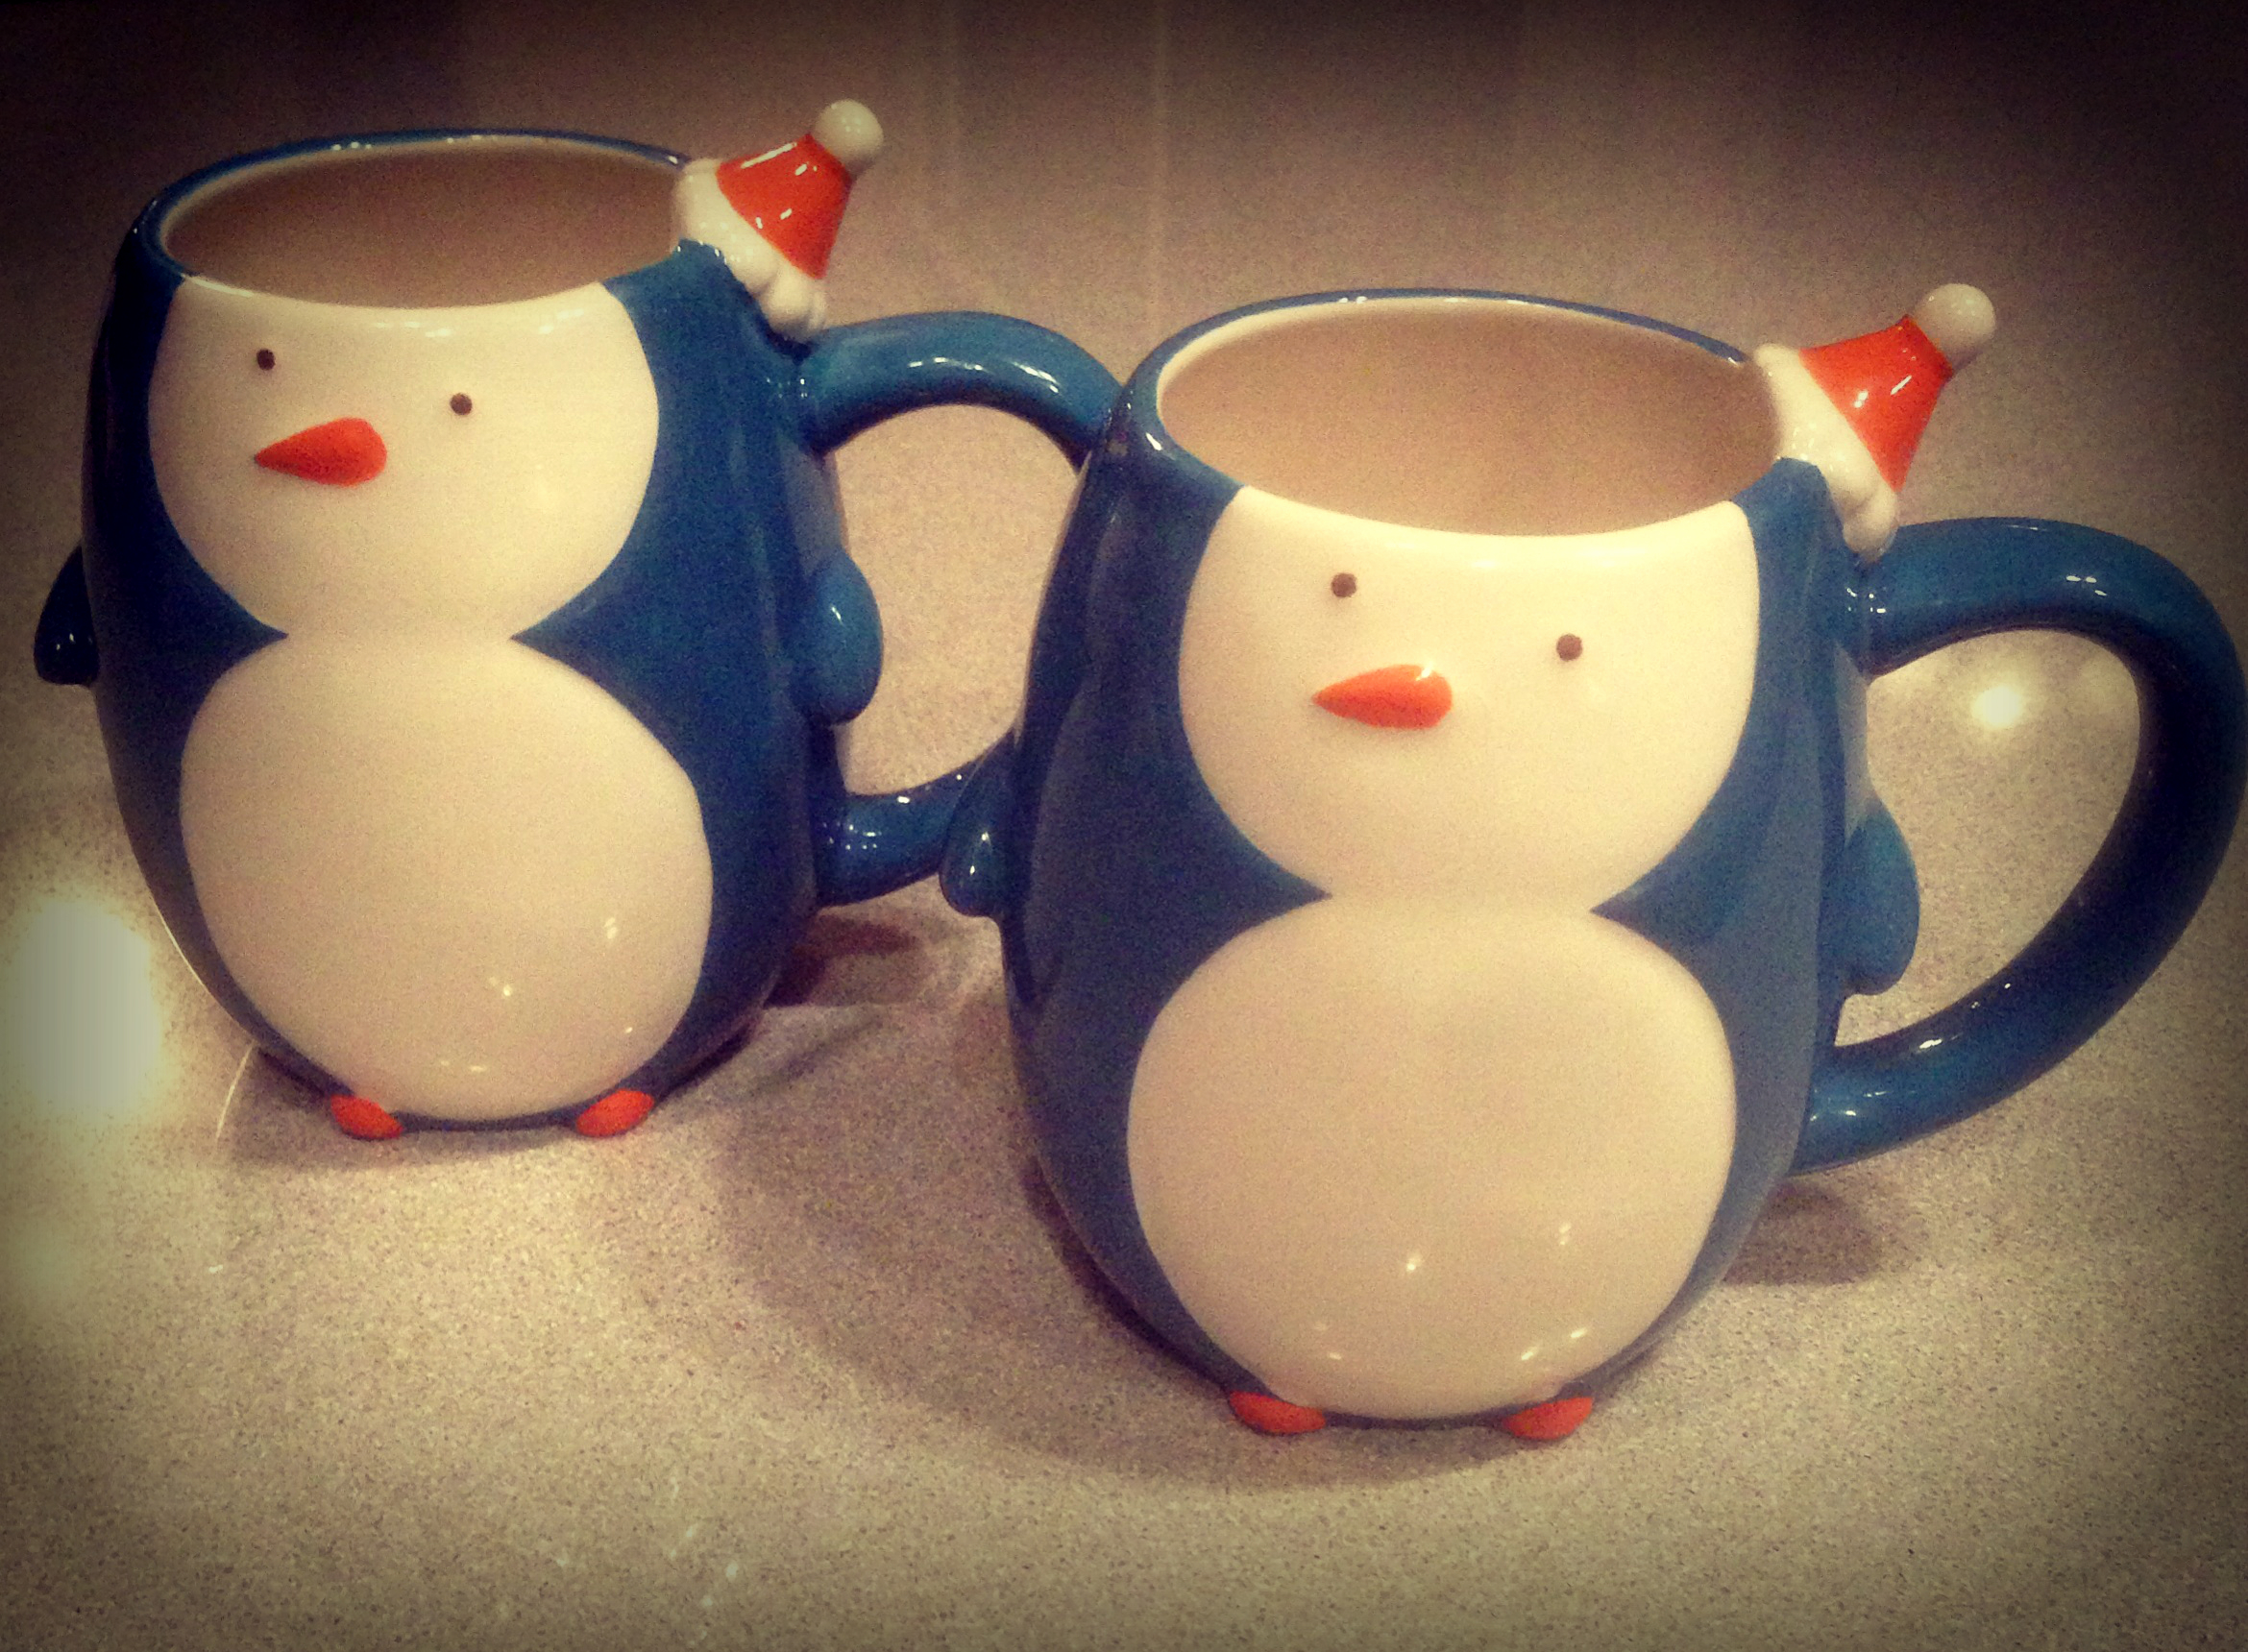
It’s so good it’ll warm you right up.  It will warm your tummy and your heart.  Especially when served in an adorable, heart-warming penguin cup.  (BF took this pic with his iPad)


penger

This is nice to enjoy while warming your toes with your loved one, or as quietly as possible standing in front of the fridge.  I store mine in the fridge because I think it stands to reason they should last longer that way.  In the event that they hang around long enough that their shelf-life becomes a concern.

Did I mention that it’s also delicious on its own as a fudge-pop?  Like a lollipop made of fudge.  Fudge on a lollipop stick.  Whatever.  Or, ya know, as a cube of not-hot chocolate.

You should always taste for quality-control.  You wouldn’t want to gift a sub-par product, would you?

DSC_7789edit

Hot Chocolate on a Stick

[ Printable Recipe ]

  • ½ cup heavy cream
  • 14-ounce can sweetened condensed milk (1 1/4 cups)
  • 3 cups semisweet chocolate (chopped chocolate bars or chips)
  • 3/4 cup unsweetened baking chocolate, chopped
  • 1 teaspoon vanilla extract (or extract of your choice)
  • Marshmallows
  • Lollipop sticks

1. Line an 8″ x 8″ pan with parchment paper or aluminum foil.

2. Heat the cream and condensed milk over low heat until steaming.  Remove from the heat and stir in the chocolate.  Set aside for 10 minutes while the chocolate melts.

3. After your 10 minutes have passed, return the pan to the burner and whisk over low heat until the chocolate has completely melted.  Whisk vigorously until the mixture is thick and shiny.  This is where you can add extract, if you wish.   I added a teaspoon of vanilla extract, you could make peppermint hot chocolate with peppermint extract, or hazelnut with hazelnut extract… you get the picture.

4. Pour the chocolate mixture into the pan and shake the pan to level.  Set aside overnight (I stored mine in the microwave… with the microwave off, of course).

5. Remove your chocolate from the pan by pulling your foil handles (if you covered the pan in foil), or you can turn it upside down if you like.  If you didn’t line your pan (aka – didn’t follow step #1), gently go around the edges of the pan with a butter knife to loosen the chocolate, then remove it from the pan.

6.  Slice into 1″ to 1-1/2″ cubes (I actually tried to size mine to the diameter of my marshmallows).  Heat a knife in hot water and wipe dry before each cut, for smoothest cuts.  Stick a lollipop stick into the center of the marshmallow, then the center of each chocolate block.  I wrapped mine in cellophane bags that were made for “cake pops” (the bags and sticks actually came together as a cake pop kit, but the sticks were a little shorter than I’d have liked.)

7. When you are ready to consume your hot chocolate, just stir it into 8 ounces of hot milk -plus or minus a couple ounces, depending on how chocolatey you want your hot chocolate.

triple chocolate pumpkin pie

photo (5)

It’s Sunday.  2013.  New year, new day, new week.  New pie?

Yeah, that sounds right.

I made this particular pie as an accompaniment to our regular pumpkin pie that I made for Thanksgiving.  I wanted to try something new, but didn’t want to start some sort of Thanksgiving mutiny all over a pie, so I figured if I made TWO pies, then I could also make this one.

I know what you’re thinking, because I was thinking the same thing, “chocolate pumpkin pie??? weeeeird.”  I know.

But at the same time, it seems like it should work, my logic was basically something along the lines of, “Chocolate?  Good.  Pumpkin?  Good.  Chocolate + Pumpkin?  Double good?”

My first bite was like “woah, definitely tastes like chocolate”… like super chocolatey.

Then the second bite, “definitely tastes like pumpkin”… as the subtle pumpkin flavor came in for back-up.

“… but it tastes good” … Bite three, “It tastes really good”

Particularly with a touch of cinnamon whipped cream.

DSC_7631

Now I realize fall is long gone, but that doesn’t mean my extreme love of pumpkin just packs its bags and goes to Florida for the winter.

Nope.  My love of pumpkin persists all year long.  So why couldn’t you make a pumpkin pie in January, or February, or even August?

I hope you can tell from the picture that this pie is amazingly creamy.  The chocolate layer on the bottom protects the crust from getting soggy, providing a nice crunch to contrast with the smooth, creamy filling.

This pie has not one but three kinds of chocolate.  Semi-sweet chocolate, milk chocolate, and bittersweet chocolate.  I had to lighten it a little bit for the BF since he’s not a fan of dark chocolate.  I basically just replaced a portion of the chocolate at each step with milk chocolate.

I know a lot of you have some New Years resolutions to follow, but pumpkin is practically a health food, dark chocolate is full of antioxidants, and I’m sure your New Years diet doesn’t start until tomorrow, anyway…. Right?

Triple Chocolate Pumpkin Pie

[ Printable Recipe ]

  • 2 cups graham cracker crumbs (about 16 crackers)
  • 6 Tablespoons (3 oz) unsalted butter, melted
  • 1 Tablespoon sugar
  • 2 Tablespoons packed brown sugar
  • 1/4 teaspoon salt
  • 1/2 teaspoon ground cinnamon
  • 3 ounces bittersweet chocolate, finely chopped
  • 6 ounces semisweet chocolate, chopped
  • 4 Tablespoons (2 oz) unsalted butter, cut into small pieces
  • 1 (15-oz) can solid-pack pumpkin
  • 1 (12-oz) can evaporated milk
  • 3/4 cup packed brown sugar
  • 3 large eggs
  • 1 Tablespoon cornstarch
  • 1 teaspoon pure vanilla extract
  • 1 1/2 teaspoons coarse salt
  • 3/4 teaspoon ground cinnamon
  • 3/4 teaspoon ground ginger
  • 1/4 teaspoon ground nutmeg
  • Ground cloves
  • 1 ounce milk chocolate, melted

Make the crust

1. Preheat oven to 350 degrees. Combine graham cracker crumbs, butter, sugars, salt, and cinnamon in bowl.
Firmly press mixture into bottom and up sides of a deep, 9 1/2-inch pie dish. Bake until firm, 8 to 10 minutes.

2. Remove from oven, and sprinkle bittersweet chocolate over bottom of crust. Return to oven to melt chocolate, about 1 minute.
Spread chocolate in a thin layer on bottom and up sides. Let cool on a wire rack.
Reduce oven temperature to 325 degrees.

Make the filling

3. In a large heatproof bowl set over a pot of simmering water, melt semisweet chocolate and butter, stirring until smooth.
Remove from heat.

4. Mix pumpkin, milk, brown sugar, eggs, cornstarch, vanilla, salt, cinnamon, ginger, nutmeg, and a pinch of cloves in a medium bowl.
Whisk 1/3 pumpkin mixture into chocolate mixture. Whisk in remaining pumpkin mixture until completely incorporated.

5. Transfer pie dish to a rimmed baking sheet, and pour pumpkin mixture into crust.
Bake until center is set but still a bit wobbly, 55 to 60 minutes. Let cool in pie dish on a wire rack.
Refrigerate until well chilled, at least 8 hours (preferably overnight). Before serving, drizzle melted milk chocolate on top.

graham crackers

graham crackers

I know they’re not technically “cookies”, but I don’t think you can really call them “crackers” either.  Either way, I’ve been following smitten kitchen for years now, and finally got around to making her home-made grahams.  I intended to use these to make s’mores, but none of them survived.  Funny, because I don’t remember putting crack in them…

These are magical, with a nice crunch and an added depth of flavor from the dark brown sugar.  Probably too crisp for s’mores, unfortunately.  I am pretty sure you would make a huge mess and squish marshmallow everywhere before you made it through the graham.  Crunchy.  Very, very crunchy.

But I loved these anyway, and couldn’t stop eating them.  They are a far cry from your grocery stores graham crackers, so I think I will need to try a few more recipes before I find one that is s’more appropriate.

Ha, “s’more appropriate,” I didn’t even do that on purpose! 🙂

Graham CrackersMakes 10 4 x 4.5-inch graham crackers or 48 2-inch squares

[ Printable Recipe ]

  • 2 1/2 cups plus 2 tablespoons (375 grams) unbleached all-purpose flour
  • 1 cup (176 grams) dark brown sugar, lightly packed
  • 1 teaspoon (6 grams) baking soda
  • 3/4 teaspoon kosher or coarse sea salt (4 grams)
  • 7 tablespoons (3 1/2 ounces or 100 grams) unsalted butter, cut into 1-inch cubes and frozen
  • 1/3 cup (114 grams) mild-flavored honey, such as clover
  • 5 tablespoons (77 grams) milk, full-fat is best
  • 2 tablespoons (27 grams) pure vanilla extract

Topping (optional)

  • 3 tablespoons (43 grams) granulated sugar
  • 1 teaspoon (5 grams) ground cinnamon

Make the dough:

Combine the flour, brown sugar, baking soda, and salt in the bowl of a food processor fitted with the steel blade Pulse or mix on low to incorporate. Add the butter and pulse on and off on and off, until the mixture is the consistency of a coarse meal.

In a small bowl, whisk together the honey, milk, and vanilla extract. Add to the flour mixture and pulse on and off a few times or mix on low until the dough barely comes together. It will be very soft and sticky.

Lay out a large piece of plastic wrap and dust it lightly with flour, then turn the dough out onto it and pat it into a rectangle about 1-inch thick. Wrap it, then chill it until firm, about 2 hours or overnight.

Meanwhile, prepare the topping, if using (I didn’t), by combining the sugar and cinnamon in a small bowl and setting aside.

Roll out the crackers:

Divide the dough in half and return one half to the refrigerator. Sift an even layer of flour onto the work surface and roll the dough into a long rectangle about 1/8 inch thick. The dough will be sticky, so flour as necessary.

Trim the edges of the rectangle to 4 inches wide. Working with the shorter side of the rectangle parallel to the work surface, cut the strip every 4 1/2 inches to make 4 crackers. You can make them smaller if you like.

Place the crackers on parchment-lined baking sheets and sprinkle with the topping. Chill until firm, about 30 to 45 minutes in the fridge or 15 to 20 minutes in the freezer. Repeat with the second batch of dough. Finally, gather any scraps together into a ball, chill until firm, and re-roll.

Adjust the oven rack to the upper and lower positions and preheat the oven to 350°F.

Decorate the crackers:

Mark a vertical line down the middle of each cracker, being careful not to cut through the dough and using a toothpick or skewer, prick the dough to form two dotted rows about 1/2 inch for each side of the dividing line.

Bake for 15 to 20 minutes, until browned and slightly firm to the touch, rotating the sheets halfway through to ensure even baking.

*If you don’t have a food processor or electric mixer, you can cut the ingredients together with a pastry blender. Just make sure they’re very well incorporated.

*You can make these ahead of time, cut and freeze in layers of parchment for up to 2 months


[ adapted from smitten kitchen who adapted it from 101 Cookbooks ]

cookie madness: oreo snowflake cookies


oreo cookie main

These cookies are for all you Oreo lovers out there. Sure you could always make your own Oreos, but why not just make some cookies and shove some crushed Oreos inside? Plus, these particular cookies only need 7 cookies-worth of crumbs, which means it’s a great way to use up the last of the box… or the perfect excuse to buy a new box and have plenty of… a-hem… “leftovers”.

I kicked this batch up a notch and finished off my bag of Birthday Cake Oreos (see the colorful sprinkles??), but you could really use any sandwich cookie. Like, Nutter Butters perhaps?

oreo snowflake 2

A couple of things about the original recipe that I would (or did) change. The original recipe called for baking at 325°F but I found that temperature to be less than cooperative, so I kicked the oven up to 350°F and they baked perfectly. Note that they will only be ever-so-lightly browned on the bottoms. They’ll still be rather pale, but they’re baked, trust me. 🙂 I also thought there was probably a bit too much flour in the recipe. When I make them next time, I think I will reduce the flour by at least 1/4 cup.

Oreo Snowflake Cookies

[ Printable Recipe ]

  • 1 cup butter
  • 3 oz mascarpone cheese
  • 1 cup sugar
  • 1 egg yolk
  • 2 1/4 cups flour
  • 1 teaspoon vanilla
  • 7 Oreo cookies, crushed

Preheat oven to 350°F. Crush 7 Oreo cookies (I put them in a Ziploc bag and then use my rolling pin to release some stress beat them senseless. Carefully, though, since the bags sometimes like to break when I do that).

In a large bowl or the bowl of a stand mixer, cream the butter and mascarpone cheese until whipped (about 3 minutes).

Slowly beat in the sugar until light and fluffy, about two minutes more. Then beat in the egg yolk and vanilla until incorporated.

Add the flour and mix on low until just incorporated. Stir in crushed Oreo cookies.

Scoop cookie dough by the tablespoon onto a parchment-lined cookie sheet and bake at for 12-15 minutes. They will still be pale, just every so slightly golden brown along the bottoms. Remove pan to a cooling rack and cool cookies on the pan 10 minutes or until cooled.
[ Adapted from Kevin & Amanda ]


You may also like these recipes:

faux-reos

 oreo cheesecake cookies

 s'more cookies

great food blogger cookie swap 2012

DSC_7711

The Great Food Blogger Cookie Swap is like a food blogger’s “Secret Santa” except instead of getting each other gifts, we give each other cookies.  Cookies are like gifts, except way more delicious.  Each participant bakes 323428 3 dozen cookies, and then sends one dozen to each of three other food bloggers.

logoSQUARE

There is a small $4.00 donation to a great cause, plus we all got this awesome oxo cookie spatula.  How cute!?  This year our donations went to Cookies for Kids’ Cancer which raises money for pediatric cancer research, you can even host your own CFKC bake sale!  But you don’t have to be a baker to donate.  You can donate right now by clicking that link.  🙂  It is the holiday season after all, aren’t you feeling charitable?

boxes

Once our cookies are in the mail, we anxiously await the arrival of our own cookie surprises. This year I received delectable soft pumpkin chocolate chip cookies from Elyse at The Cultural Dish , chai snickerdoodles from Leslie at My Kitchen Is Open, chocolate espresso cookies from Jessa at Heed the Feed … and I even got bonus cookies from Shannon at A Periodic Table who sent me her cookie “leftovers” because she’s the sweetest person in the whole world.

Though it was a lot of fun to participate, and I’m totally going to do it next year (and you should, too!), it was probably the most stressful thing ever.  I needed to find the perfect cookie.  I’m pretty sure I did.  After piles and piles of “cookie research”, I settled on one of my all time favorite cookies, aptly named World Peace Cookies.  These cookies have a crisp exterior and a chewy center.  They are deeply chocolatey with bit of sea salt to give them that salty-sweet combination that makes them so dangerously addictive.

DSC_7715

Oh, and they’re crazy easy to make.  Except for the slicing part.  That part will make you want to rip your hair out, but it’s worth it, because even your most grotesque piles of cookie mush will taste just as good as the perfectly-shaped ones.

If you or someone you know is interested in next year’s cookie swap, you can sign up here for notifications once info is available.  It may seem really far in advance right now, but trust me, we all know how quickly these holidays sneak up on us.  You can also like The Great Food Blogger Cookie Swap on Facebook.

World Peace Cookies

[ Printable Recipe ]

  • 1 1/4 cups all purpose flour
  • 1/3 cup natural unsweetened cocoa powder
  • 1/2 teaspoon baking soda
  • 11 tablespoons (1 stick plus 3 tablespoons) unsalted butter, room temperature
  • 2/3 cup (packed) golden brown sugar
  • 1/4 cup sugar
  • 1 teaspoon vanilla extract
  • 1/4 teaspoon fine sea salt
  • 3/4 cup mini chocolate chips (or 5 ounces bittersweet chocolate, chopped)

Making the dough

1. Sift flour, cocoa, and baking soda into medium bowl.

2. Using electric mixer, beat butter in large bowl until smooth but not fluffy.  Add both sugars, vanilla, and sea salt and continue beating until fluffy, about 2 minutes.

3. Add flour mixture all at once and cover the mixer with a tea towel (this is to prevent cocoa powder/flour dust from coating your kitchen.  You’ll be happy you did this, trust me.)  Pulse the mixer at low speed about 5 times for a couple seconds each time.  If there is still a lot of flour on the surface, pulse a few more times.

4. Once you have successfully averted flour disaster, go ahead and continue to mix low speed for about 30 seconds more until just blended (the mixture may will still be crumbly – I definitely should have taken a picture of this part).  Add in chocolate chips and mix just until incorporated.  You want to try to mix the dough as little as possible.

5. Turn the dough out onto a work surface (I usually dump it right onto a large piece of plastic wrap).  Gather the dough together an divide it in half (I transfer the other half to another piece of plastic wrap).

6. Press and roll each half of the dough until you have two logs that are 1 1/2-inches in diameter.  It is helpful if you use the plastic wrap to help press the dough into a log, then you can use that same plastic wrap to tightly wrap each log.  Place dough logs in the refrigerator to chill at least 3 hours or up to 3 days.*

*Alternatively, you can freeze the dough for up to two months.  Bake straight from frozen, just add an extra 1 minute. 

Baking the cookies

1. When ready to bake, place rack in the middle of the oven and preheat oven to 325°F

2. Slice logs into 1/2-inch thick rounds and place on parchment-lined baking sheet.  There will be crumbles, just gently smoosh the crumbs back into the cookie discs.

3. Bake cookies for 12 minutes (13 minutes for frozen), remove from oven and cool on baking sheet.  They won’t look markedly different, they will be more like slightly poofier versions of the discs that you put in the oven a mere 12 minutes ago.

[ Adapted from Baking: From My Home to Yours ]